Garden Edging Tools Required
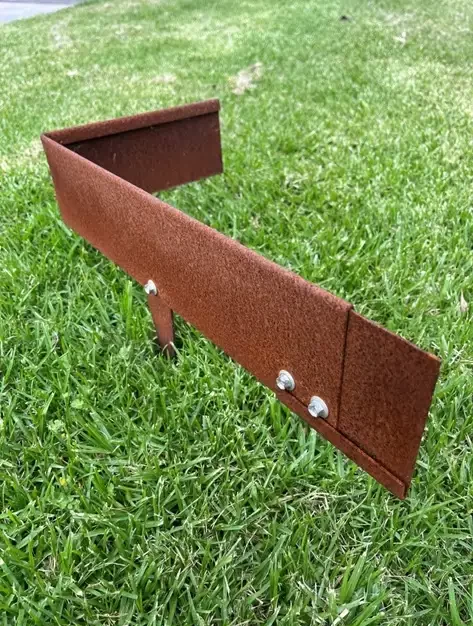
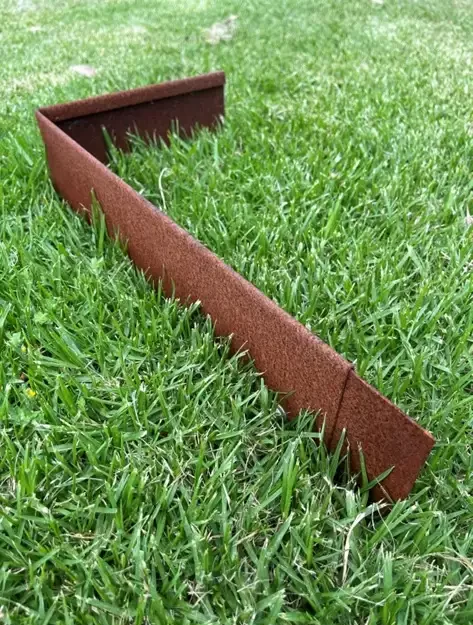
Easily install garden edging and rings using this straightforward do-it-yourself process. The flexibility of connectors with screws allows for the assembly of garden rings around existing trees or connecting edging profiles together with ease.
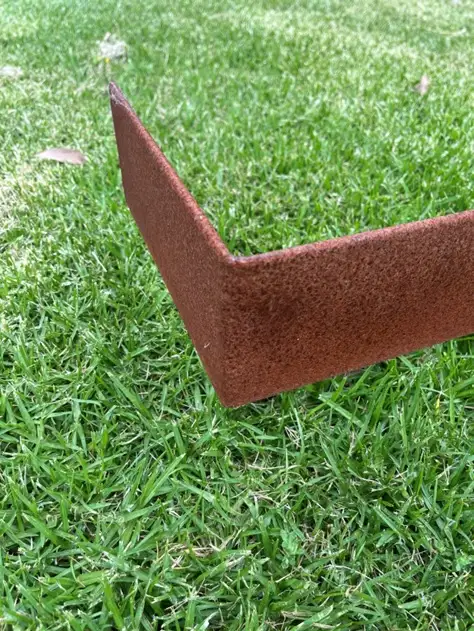
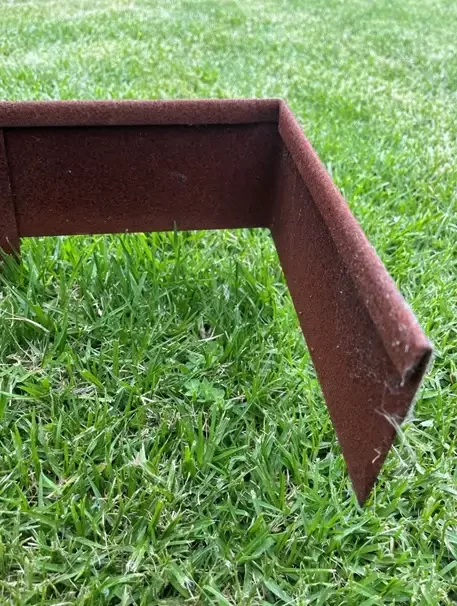
Shaping corners and curves becomes effortless with the ability to fold, accommodating profile heights of 100mm, 150mm, and 185mm.
There are several alternatives to using the listed tools and chances are you will not need all of them. We’ve assembled a list that will assist you best from our installation experience.

Designed for the utmost simplicity, requiring minimal tools.
Rubber Mallet
The 1.2kg rubber mallets cater to your stake bashing needs. It also allows you to tap your metal garden edging down to your desired height once it’s all fixed together.

Optional Rubber Forming Strip For Profiles Above 390mm High
Stretch the rubber strip out, and push it under the FormBoss® folded top lip along the whole length of edging. It should stay there because it will expand when you let it go, if it doesn’t, try it again with a second person. It works best when you have two people to stretch the forming strip out. If it won’t stay put just tape it to both ends. Once you have done this you will now be able to shape the edging more aggressively without kinking the top lip. This reduces the minimum shaping radius by hand from around 1200mm to around 800mm, depending on the users previous experience. Rubber forming strips are highly recommended to all first time FormBoss® users who are planning tight curves. The forming strip can be used again and again, simply pull it from out of the top safety lip once your edging piece is shaped.

Wide Brimmed Vice Group
This clamp is used for both connector pieces and stakes. Simply adjust the end cap to leave approximately 10mm gap between the end plates. Then clamp the edging. It works best when the clamp is extremely tight. This leaves little room for the connector plates to slide around while you’re fixing them, and makes piloting the screw incredibly easy. If it’s a bit loose, take it off and tighten it before use.
You will need some form of clamp, the wide brimmed vice grip works best from our experience, but most clamps will do the trick.

8mm Magnetic Hex Head Driver
This is the piece you will need to fix your self tapping screws. If you don’t have one already you’ll need one.

Cold Gal Spray Paint If Needing To Cut Galvanised Edging
Want to have the most thorough of installations to ensure your edging will be there long into the future? Make sure to purchase a can of cold gal spray with your order. You’ll need to spray any areas where you have exposed the bare metal. This will include area’s that have been both cut and screwed. The cold gal will conceal the cut edges with a zinc coating protecting the steel from oxidation.

Drill
To get the best result we highly recommend screwing all your stakes and connectors to the edging. This will ensure your installation is still looking great in years to come. Impact drivers work well at getting the screw through as quick as possible, although just about any drill will work.

String Line, Chalk, or Marking Paint
Ever tried to get perfect straight lines but messed up because you were just working by eye? Using a string line can ensure that you get straight lines as dead straight as possible. Simply make sure the string line is taut just above the edging line, and loosen the soil directly below for your edging to be laid in.
Chalk and marking spray will help for those designs that need to be precisely constructed.

Angle Grinder or Hack Saw
You will need to cut the edge when you come to the end of your line. An angle grinder is the easiest way to get a straight cut, however a hacksaw will do the job just fine. Be sure to mark the edging off at 90 degrees with a marker before cutting.

Metal File
After cutting your edging, you’ll need to file the cut edge to remove the burr created by cutting. This bur can be very sharp, make sure you are wearing gloves while filing.

Spade, Pick Axe or Hand Mattock
Before laying your edging in the ground you will need to loosen up the soil. The best tool comes down to user preference.

Square
Before cutting any edges you’ll need to make sure it’s square to ensure it joins as cleanly as possible.

Pen
You’re going to need this to mark your edging before each cut. It will also help you if you are doing any custom jobs.

Tape Measure
This will help you measure up before you order, and will also assist you plotting out your installation.

Rivet Gun For Profiles Above 390mm High
